Old School Dialogue
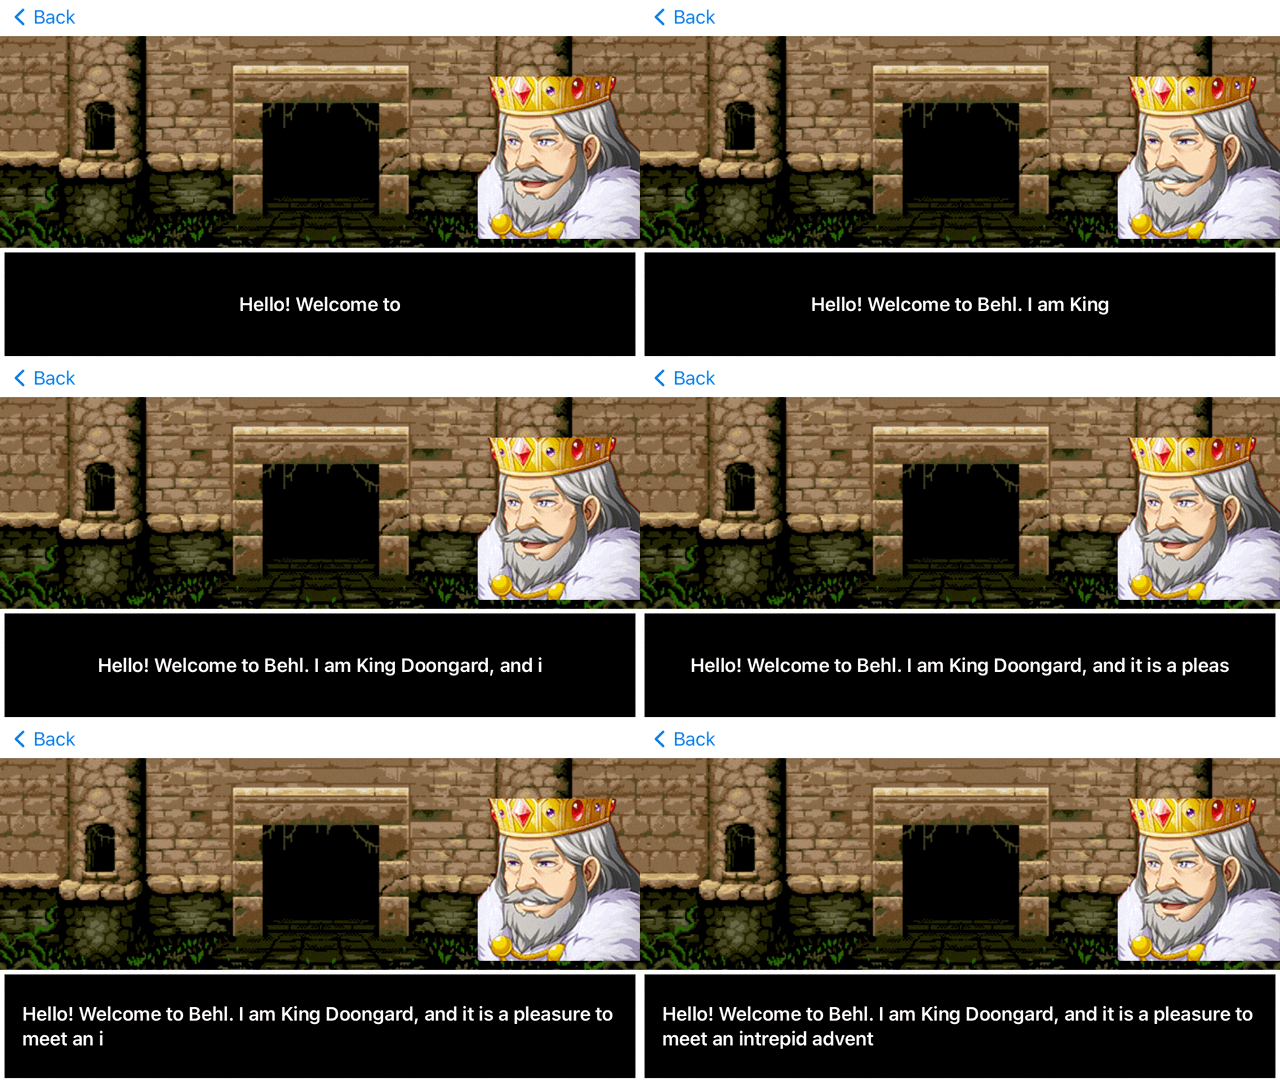
One of the things I have always liked about old games is the dialog heavy cutscenes. Needlessly swapping between pixel art avatars while a mound of text scrolls character by character on the screen brings back some of my happiest memories. This influence is something that I want to bring to my little SwiftUI game and so I’ve decided to implement a simple Dialogue view for the game for any cutscenes that I might have. It’s a pickle!
I’m not going to go in depth on this but I will dissect a few sections. Overall I have ZStack, with an Image background and an HStack to house the avatar of the character currently speaking.
1 | ZStack{ |
The currentImage is toggled based on the images passed in and then this is all followed by yet another ZStack to handle the black background, border and text atop it.
1 | ZStack{ |
Similar to currentImage above placeholderText is updated based on the text passed in and an update to the 1 second timer. The sauce is all in updateText() and updateImage() once the timer is fired. Within those functions those two varaibles are updated and subsequently the UI renders. In action it is kind of fun
